
Some of the links on this page are affiliate links, which may give us a small commission for sales.
What does an Inverter do in an RV?
If you’ve ever been on a recreational vehicle (RV) trip, you may already understand the importance of maintaining a steady and reliable power source. The unequivocal star of this power show is the unsung hero, inverter for RV.
So let’s break down the basics: what does an inverter do in an RV? The primary role of an inverter is to convert Direct Current (DC) power, garnered from the RV’s battery or solar panels, into Alternating Current (AC) power. The AC power supersedes the function of typical home electricity supply, aiding the smooth operation of various appliances, including your refrigerator, TV, microwave, or laptop.
The Functionality of an RV Inverter
An RV inverter should not be underestimated for its size; packed within its compact structure lies a robust mechanism responsible for powering your RV’s electrical system. Its primary task is to convert Direct Current (DC) power from your RV’s battery or solar panels into Alternating Current (AC).
This transformational role sparks curiosity: how does an RV inverter convert one form of electricity into another, and why is this conversion required? Well, all this ties back to the principle of how electrical appliances operate and the energy they need to do so.
Your RV battery or solar panels produce DC power, a type of electricity where electrons flow in one constant direction. But most of your RV’s appliances, like the microwave, air conditioner, laptop, and TV, function on AC power, where electrons switch directions, or ‘alternate,’ in the current.
Here is where our indispensable RV inverter steps onto the stage. It takes up DC power, where the electric charge moves in one stable direction, and shakes it up to generate an alternating or back-and-forth movement.
Think of it as translating a language – the inverter translates the ‘language’ of DC power, comprehensible to batteries and solar panels, into an ‘AC power language’ which appliances can understand.
This transformative power of the RV inverter empowers RV-ers to access the comfort of appliances that would normally rely on a standard household power supply. When you’re out camping in the wilderness, boondocking near a tranquil sea, or simply enjoying the starlit sky in a far-off field, your RV inverter ensures you can brew a warm cup of coffee or chill your beverages.
Moreover, modern inverters provide cleaner energy, referred to as ‘pure sine wave.’ This ensures the power coming through your outlets is not only safe for sensitive electronics like laptops, smartphones, and tablets, but also mimics the smooth and consistent energy you would get from a home outlet powered by the grid.
In simpler words, an RV inverter works tirelessly in the background, serving as the vital link between stored battery power and the daily comforts of modern living, even when you’re miles away from civilization. Truly, they allow the freedom of road life without any significant sacrifice on convenience.
How to Install Inverter In RV
Guidelines for Installing an Inverter in Your RV
Adding an inverter to your RV’s electrical setup can seem like a daunting task, but with some understanding and handy tools, you can undertake it as a do-it-yourself project. The following steps will guide you through the process of installing an inverter in your RV.
Choosing the Right Inverter
An assortment of inverters with varied capacities is available in the market, and the choice largely depends on your usage requirements. Are you going to power only a laptop or a few lights, or do you need an inverter to handle the microwave or the air conditioner? For most RVers, a 1000-2000 watt inverter is often sufficient. Higher capacity inverters are also available for those considering heavy performance loads.
The inverters also vary based on the type of electricity output – modified sine wave or pure sine wave. While modified sine wave inverters are cheaper, pure sine wave inverters offer clean power that’s better for sensitive electronics.
Affiliate Link – Small commission may be earned
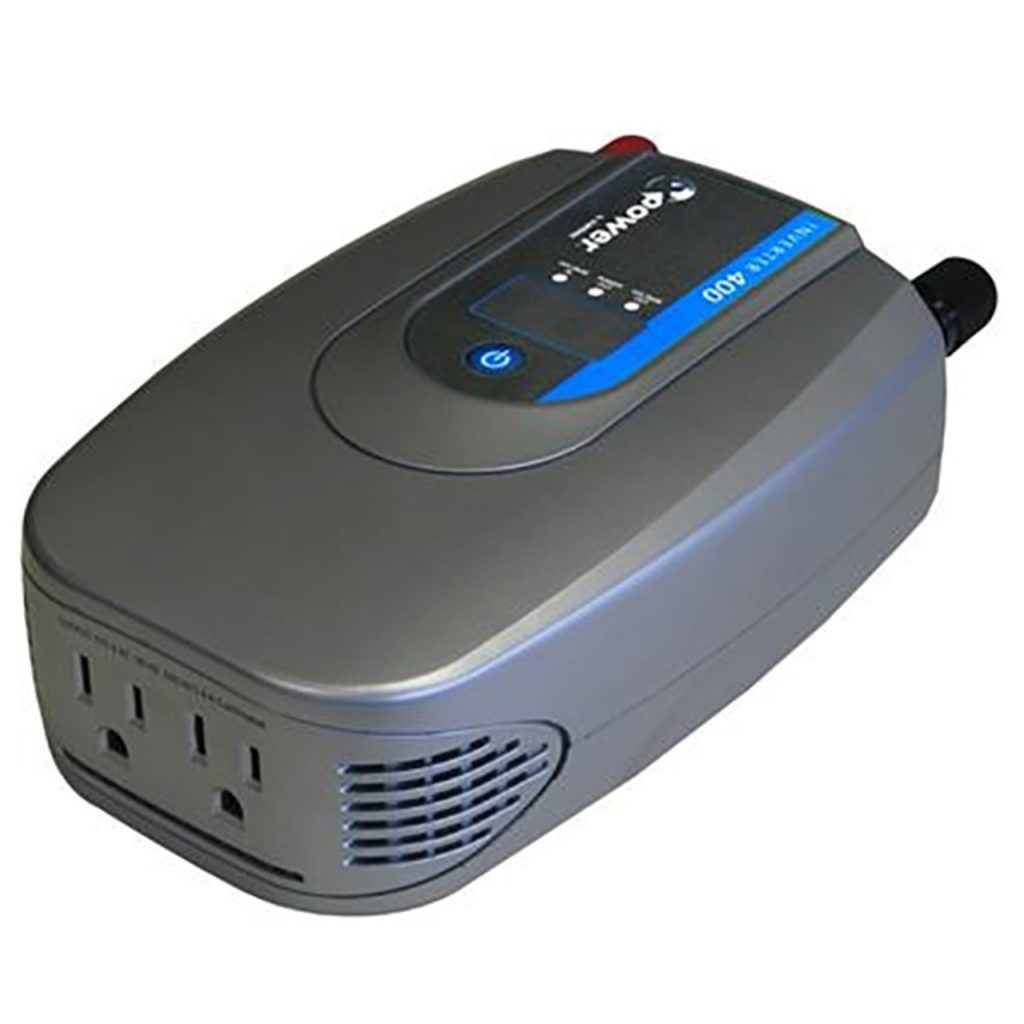
Power Inverter – 320W
- Inverts 10.5V – 15.5V DC to 115V AC
- 320 watt continuous output power
- 640 watt peak output power
- 90% efficient
- 2 outlets
Identifying a Suitable Spot
The location of the inverter is crucial. It should be close to the battery but away from potential gas fumes. While inverters are typically silent operators, some do have built-in fans that kick on when the unit is under heavy load. Therefore, an Inverter installation should be in a well-ventilated, cool area.
Secure Mounting
Once you have identified the ideal location, it’s time to mount the inverter. The unit must be securely fastened to a stable surface to avoid displacement when your RV is on the move. This can be done using mounting brackets and screws. Shields or coverings to protect the unit from any potential harm, like spills, falling objects, or feet, can also be beneficial.
Ensure that the inverter is mounted in a position that allows you easy access to the wiring connections, switches, and if present, the fan and filter. Avoid small confined spaces as they have poor airflow, potentially leading to overheating.
Preparing for Wiring
Before proceeding to wire your inverter, make sure the battery is disconnected to avoid potential short circuits. All necessary precautions must be taken in handling the wiring, including wearing insulated gloves and safety glasses.
Creating the Wiring Connections
Insulated copper wire of appropriate size is used for the connections, depending on the distance between your inverter and battery. A typical setup includes two cables for the positive and negative terminals of the battery to the corresponding inverter terminals, securely tightened with a wrench.
Important to note – the inverter should remain off until all the connections are correctly established and inspected. Misconnections between positive and negative terminals should be meticulously avoided.
Installing the Inverter Switch
Many inverters come with an on/off switch that can be mounted at a convenient location inside your RV. This switch is very useful for controlling the inverter from inside, especially during the night or adverse weather conditions.
Completing the Installation
With all the wires in place and connections double-checked, your inverter’s installation is complete. Turn on the battery, switch on the inverter, and check for power at your outlets.
In summary, installing an inverter in your RV equips you for energized RV living. While the process requires careful attention, it is certainly manageable, and the convenience you gain is a great reward for the effort.
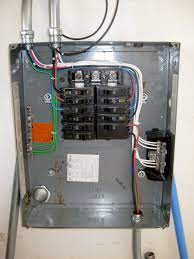
Wiring an RV Inverter to the Breaker Box
Wiring an inverter to your RV’s breaker box allows the converted AC power to flow seamlessly throughout all the electrical outlets in your RV. However, it’s a task that requires precision and care. Here’s a step-by-step guide to help you navigate through the process.
Before You Begin
Before you start, turn off all breakers, including the main breaker, to ensure that no power is being sent to your RV’s electrical system. You should also turn off the inverter and disconnect all power sources. Prepare all necessary tools and safety gear before starting any electrical work to avoid any potential hazards.
Connecting the Inverter
Step one involves establishing a connection between the inverter and the RV’s battery bank. It starts with wiring up the negative terminal of the inverter to the RV’s battery bank’s negative terminal. Using battery cables can establish this connection, but remember that the positive terminal should not be connected at this stage to avoid possible accidents.
Creating a Pathway for Power Flow
Once the initial steps are completed, you will need to run a cable from the RV inverter to the RV’s breaker box. It’s essential to use an electrical wire that is suitable for AC power and the potential electrical load. This AC cable will be connected to your RV’s breaker box, creating a pathway for the inverter to supply power to all the outlets within your RV.
Grounding the Inverter
An essential safety feature in any electrical system is grounding. This measure protects you, and your RV’s systems should an electrical fault occur, like a short circuit or surge. Accordingly, install a grounding wire that extends from the inverter’s grounding point to the grounding bar in the breaker box. This grounding wire will act as an emergency exit for electricity if needed.
Completing the Connection
You’re almost there. With all other connections and safety measures in place, you can finally connect the positive terminal of the inverter to the RV’s battery bank’s positive terminal. Connecting the positive cable to the positive terminal is always done last to minimize the risk of sparking or short-circuit failures.
Checking the System
Upon completing all these steps, it’s time to activate the system and perform a system check. Carefully turn on the RV’s main power and activate your inverter. Check all outlets to make sure that your RV’s electrical system is running smoothly. If troubles occur, or if electricity is not coming to the expected outlets, immediately turn off the system and recheck all connections.
Wiring an inverter is indeed a complex task, but once completed, it allows you to access a reliable power source while exploring the great outdoors in your RV. By following these steps carefully, even a novice RVer can successfully complete the process, equipping their RV for boondocking or unplugged living.
Thoughts on RV Inverters: Powering Convenience on the Move
The RV lifestyle promises liberty, adventure, and novelty, but the prospect of limited access to electricity can be daunting. That’s where the unsung hero of your RV–the inverter–steps in, bridging the gap between the lure of the open road and the comfort of modern conveniences.
Powering your appliances with the DC power from batteries or solar panels necessitates a translator, a bridge-builder. The RV inverter fills this role deftly, transforming the raw power into a form that your everyday devices and appliances recognize and can utilize.
The journey to understand an RV inverter eliminates the mystery surrounding these handy devices, lays the groundwork for informed decisions when buying one, and sets the stage for successful DIY installations – a valuable skill for every RVer.
The choice of inverter, the consequent installation, and the delicate task of wiring offer invaluable insights into your RV’s internal operations. These steps, once taken heedfully, not only save on professional installation costs but also equip you with the knowledge to tackle minor troubles on the road.
So, as you traverse through unpaved pathways or take a beachside stop, remember to appreciate this little miracle box humming silently, powering your needs and wants. The RV inverter truly embellishes your travel tales with comfortable living, making every journey feel like home, regardless of where you park.


Leave a Reply